Isamu Enamoto restyles a Satsuki azalea
Instead of being fixated on the old form, consider exploring a new shape. It might even lead to an unexpected enhancement of the tree’s overall character.
Reversing the front and changing the angle
The material Isamu Enamoto will work with has an emphasis on exposed roots in the lower trunk. Cultivated to a near-displayable condition, for reasons unknown, the apex section of the tree has deteriorated. Given that Satsuki azaleas are naturally vulnerable in the apex and it seems unlikely that recovery is possible at this stage. There seems to be no choice but to reconstruct the top of the tree. Seizing this opportunity, Isamu decided to reverse the front and back of the tree. Whether or not this unfortunate situation can be turned into a blessing remains to be seen, but we followed the progress after the initial transformation, which we will also present to you.
Removing the current apex
While the cause remains unclear, the apex of the Satsuki azalea, which already is a vulnerable area, has deteriorated significantly. At this point, recovery seems impossible.
The current apex was leaning quite far forward, so if it is not possible to use these branches of the crown, it will be necessary to reconsider the front of the tree. Fortunately, the exposed root base, which is a key feature, does not seem to be strictly tied to the current front and so offers flexibility in its orientation.

Kyokomachi is a Satsuki variety that blooms with a beautiful mix of patterns, including large and small purple shibori (like tie-dye patterns) on a white background, fukurin (marginal variegation). Its charm lies in this attractive variation of flower patterns. Additionally, with its small leaves and medium-sized flowers, it is well-suited for chuhin-sized bonsai.
Reversing the front and changing the angle
First, I devised a plan to make the back of the tree the new front. Fortunately, from this new front view, the dying crown is not visible since the crown was growing towards the old front.
The root base from the back (now the new front) also looked good. The next step was to rotate the tree clockwise slightly and tilt it forward a little to direct downward growing branches towards the new front. This adjustment allowed the cascading branch to be oriented towards the new front.
When viewed from the right side of the new front, the old dead apex and the branches that once stretched toward the old front are visible.
The cascading branch has already been slightly rotated to face the new front, so the remaining task is to deal with several thick branches that were growing towards the old front in the upper part of the tree.
Pruning upper back branches and the old apex
Long upper branches that had extended towards the old front, and the withered old apex were pruned back, leaving the branch bases intact. This was done to avoid the risk of die back that could occur if they were cut all the way to the base at once. The process was carried out with the technique that is known as ‘two-stage cutting’, which will be explained in more detail later.

Trees are living organisms, so issues are unavoidable
Isamu Enamoto
Bringing out the character of the exposed roots
Focusing on the withered old apex, the branches in the crown area were thinned out first. The number of branches in this section served as a reference for how much to prune the other branches.
When viewed from the side, it’s evident that a significant number of branches have been left intact. While cascading branches that help express the flow of the tree require a certain length, the current number of branches is excessive, even obscuring the root base which is the key feature of the tree. Isamu thinned out the branches using a pruning technique similar to that done after the flowering period, gradually reducing the number of branches.
This level of work can even done in the winter

Thinking of it as if it were never there opens the door to enjoying a new form of the tree
Isamu Enamoto
Two-stage cutting for safety
When creating wounds on Satsuki, there is a very high risk of severe die back, especially in exposed areas of the tree. The die back can continue down and into the trunk. In order to prevent this, when making a big cut on an azalea, do not cut off a thick branch all in one go, rather leave a small stump and then perform a two-stage cut. This will allow the wound to partially heal over and so will reduce the risk of die back. This technique is especially important for branches on the front of the tree.
Compare the before with the after images
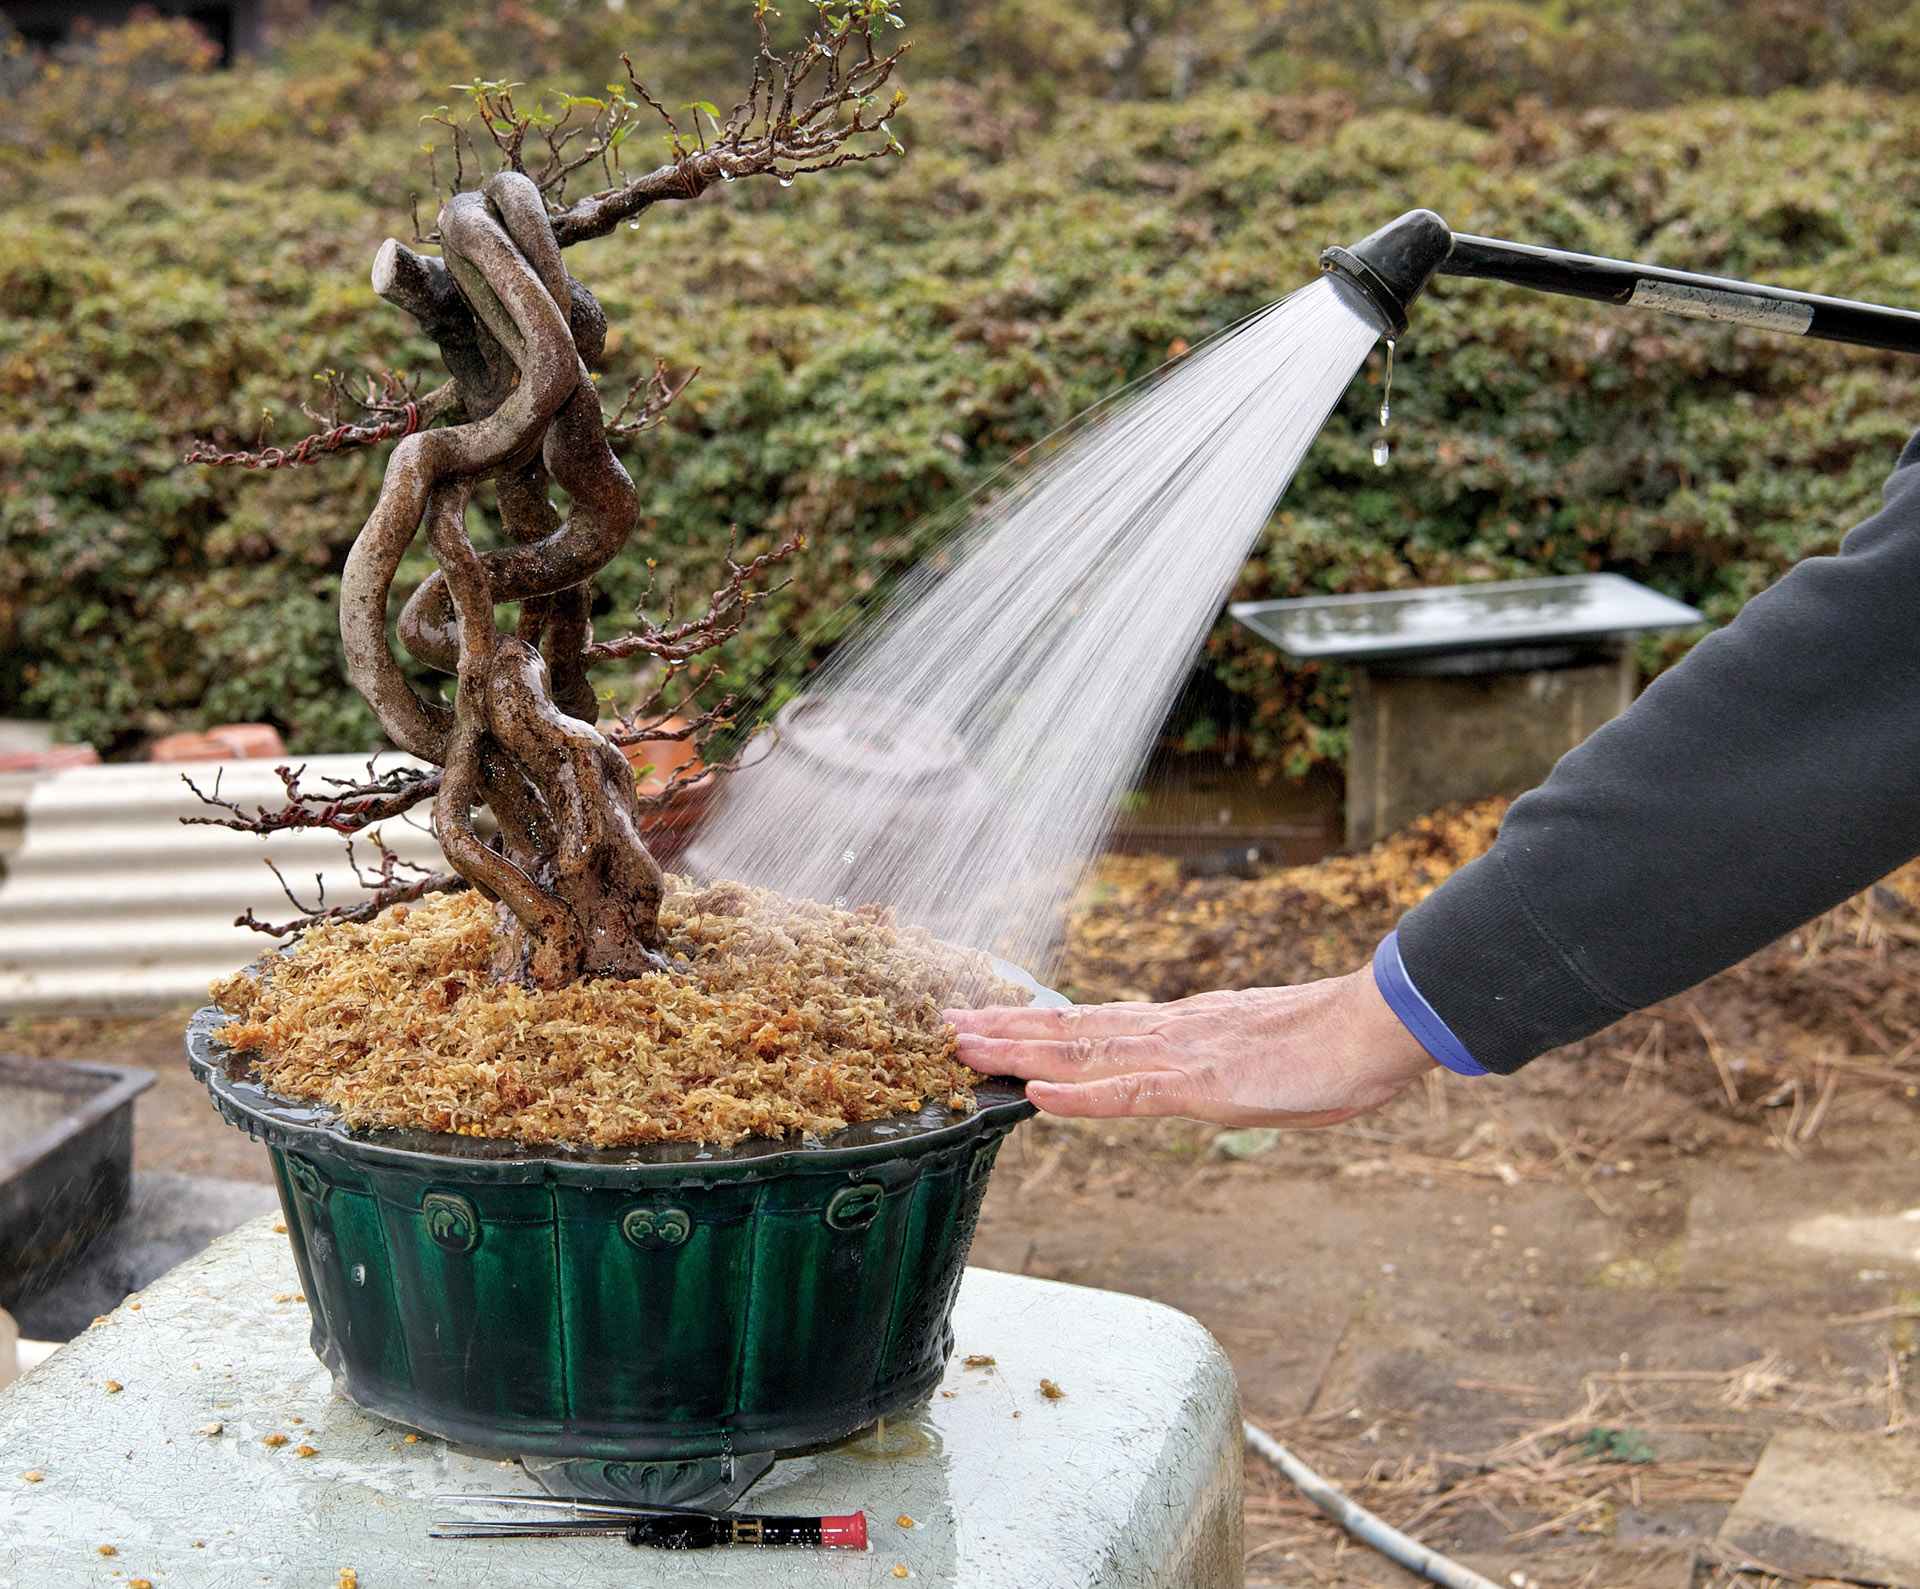
Basic steps for repotting
Date: 28th January 2021
28th January 2021: After repotting
Finally
As long as winter protection is ensured, this has proven that pruning, reshaping, and even repotting can be done in winter. While the work is done with the understanding that this year’s flowers may be sacrificed, it’s clear that branch development can still progress during the winter. When the flowering season ends this year, pruning and reshaping can be carried out with the next year’s blooms in mind. Two-stage cutting will need to wait a little longer.