

Bjorn Bjorholm SOLVES the problems on a Japanese yew (taxus cuspidata)
Bjorn is one of the major bonsai artists, travelling the world to demonstrate his skills; we were lucky to get him to come over for special work on this yew provided by Bonsai Plaza. Bjorn: ‘This yew, originating from Japan, has the typical bulky compact growth which makes it a difficult tree to style as it has a very straight lined trunk with some thick chunks. The challenge is to fix the faults and enhance all the good features, which include its impressive base, natural deadwood inside the tree and its abundance of very healthy branches.


-
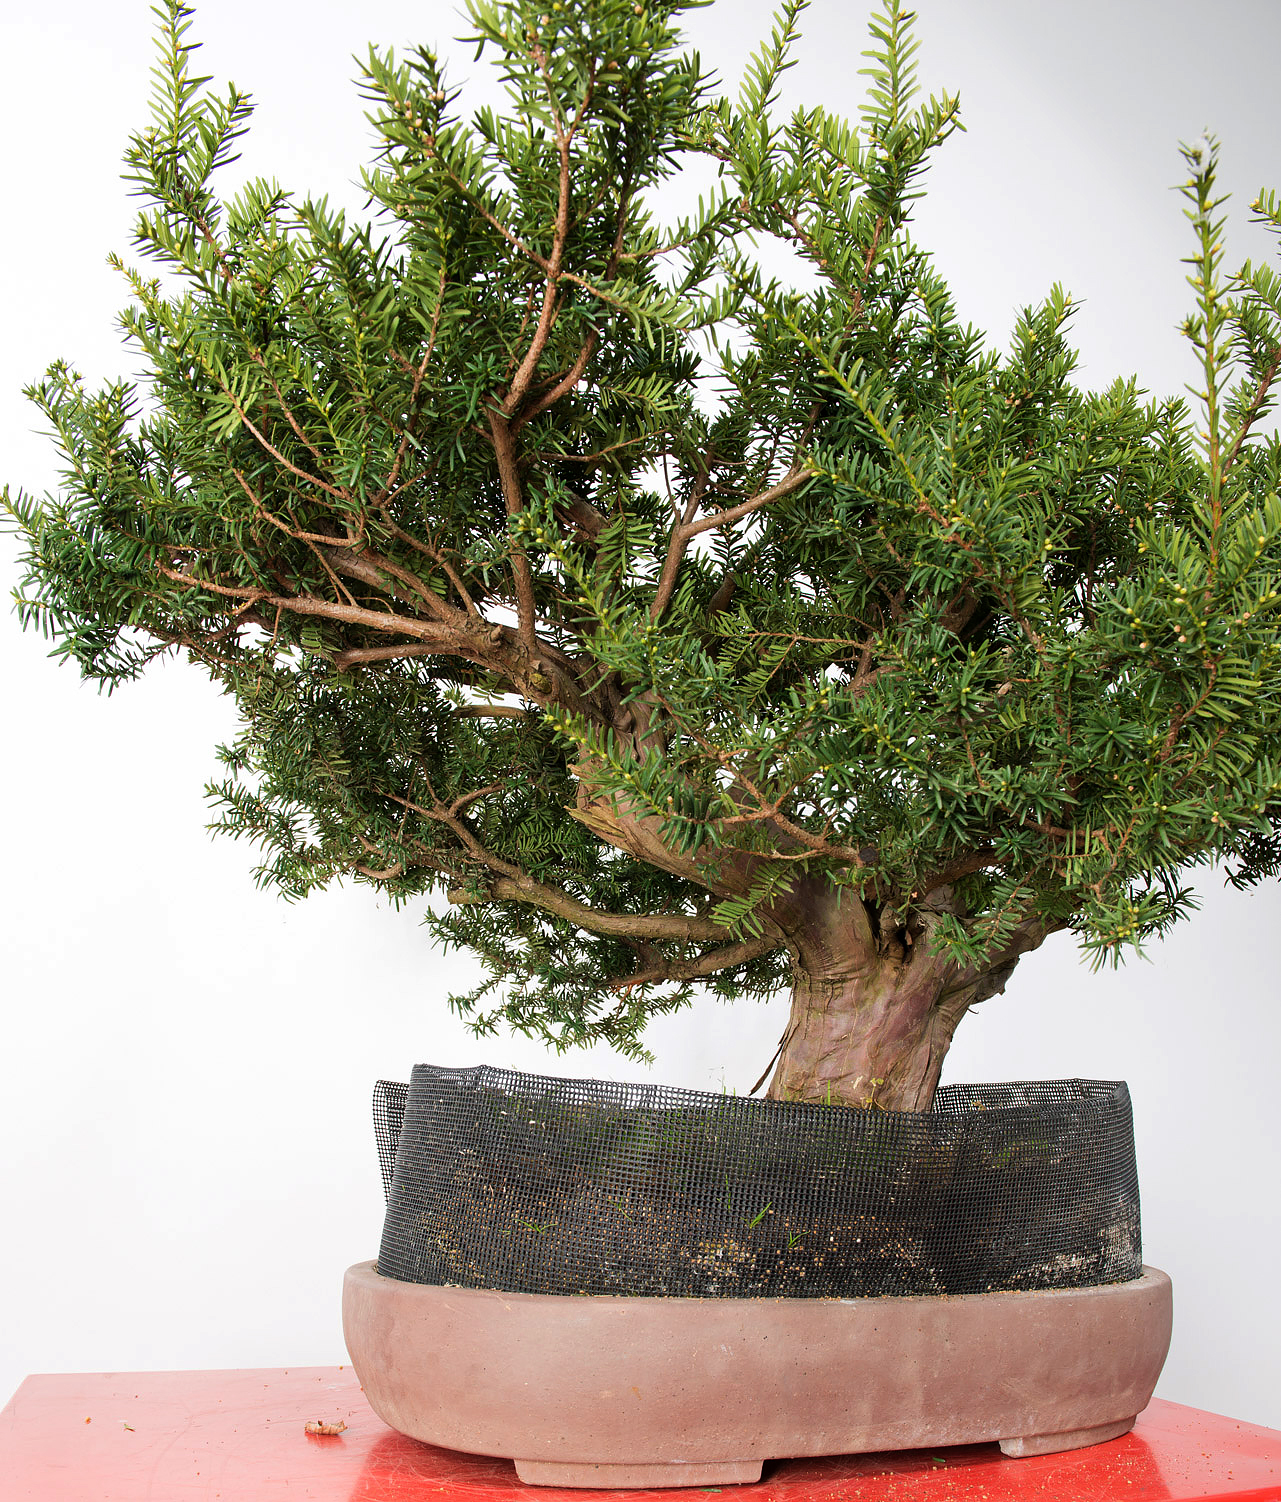
- A very bushy yew which, on the first viewing, has only a very short straight trunk. A: What is hidden inside? B: Long strong shoots are a proof of healthy foliage
-
- Seen from the other side, the netting needs to be removed to get a clear view of the nebari. A: Some stumps peek out from the foliage mass.
-
- The tree seen from the right side.

Getting rid of some branches for a better view
Bjorn: I removed the front branch and some side branches at the right to see what was hidden — natural deadwood with a few hollows, too. This makes the tree interesting and after tilting it slightly the rather stiff appearance becomes far more elegant. Yannick Kiggen is assisting me to speed up the work.

A: These short branches are perfect to create a fine apex. B: I will remove the netting round the roots to get a better view of the base. C: Heavy upward growth will be cut back. D: Work on the many thick stumps needs to be done.


Jins are made from the branch stumps.


-
- With chalk I am tracing where to make the extra shari.
-
- The extra shari will enhance the lines of the trunk.
-
- With a sharp knife I cut through the bark.


-
- If done correctly I can peel off the bark with the help of a chisel.
-
- Some parts haven’t been cut through sufficiently so I need to cut even deeper.
-
- Removing all the bark and using the chisel to create a more rugged surface.


Chiselling away the young wood to create a cavity which synchronises with the one that exists in the middle.

A large piece comes off, reducing the stump by almost half.
The stumps
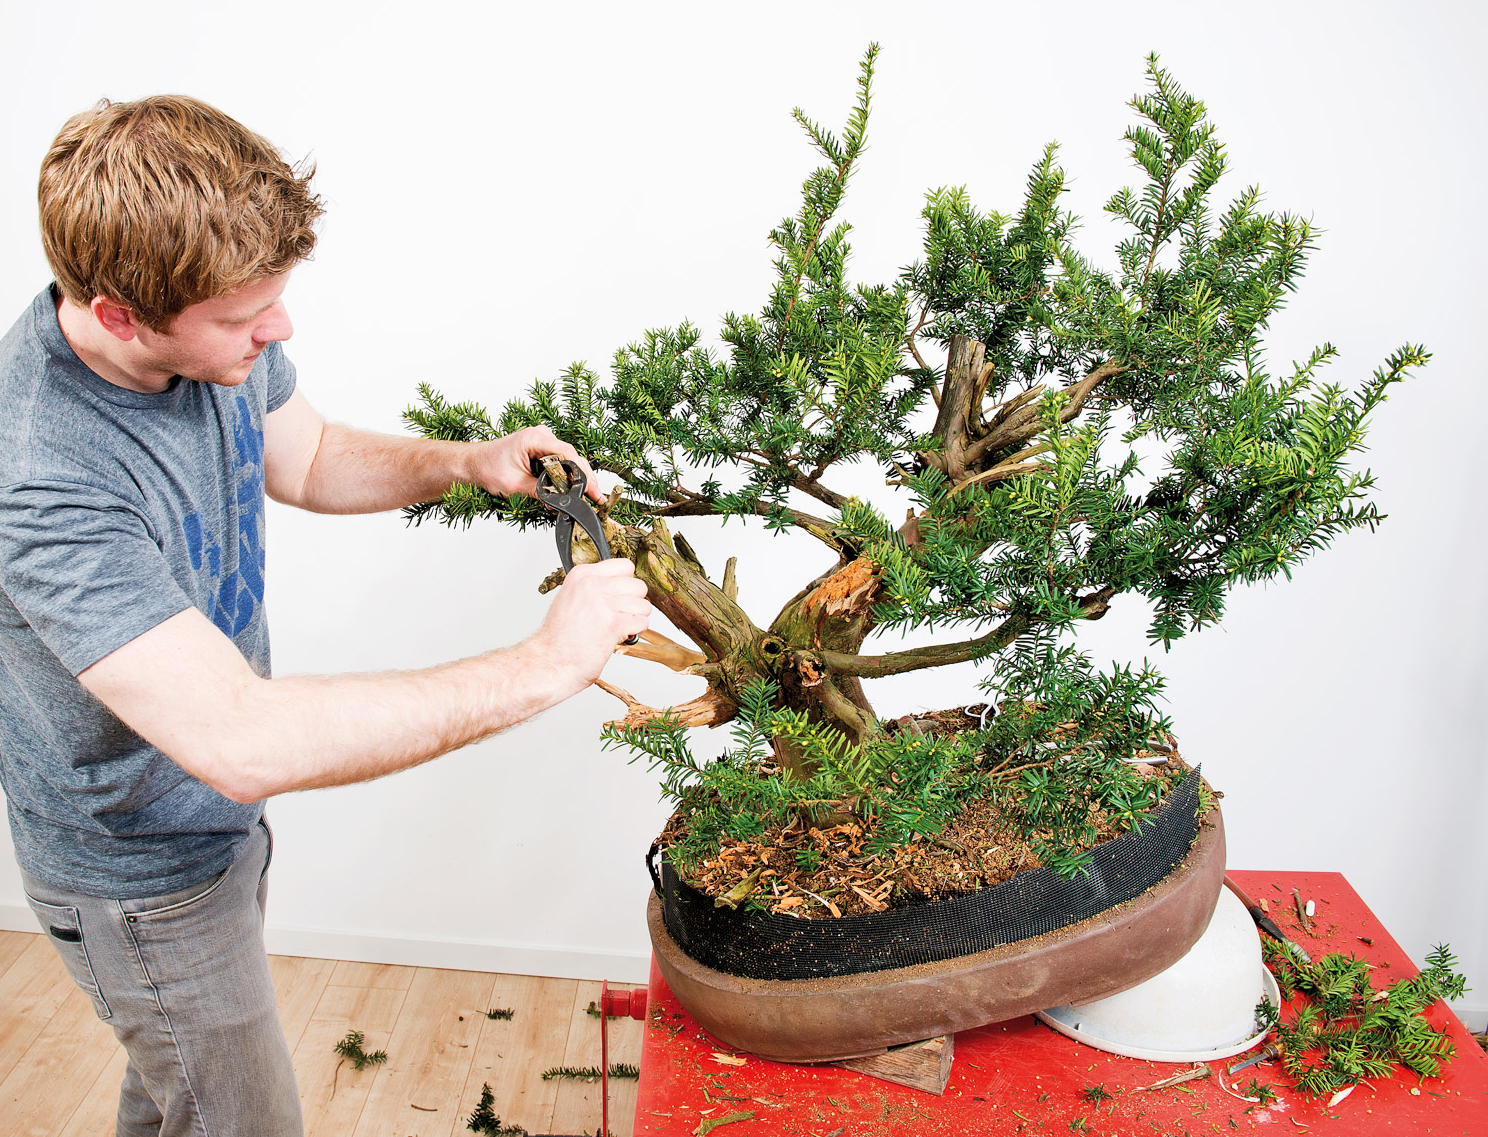
The stumps (A & B) at the back need some work, too. They are far too lumpy and thick. I use a large branch splitter to crack the wood and then tear off wood splints. The result should be a thinner piece of deadwood.


-
- Seen from the back, stump (B) is even thicker.
-
- After tearing off the top from the large part (B) I found that it was completely hollow. The result after splitting the side stump (A); it looks far better now.
-
- To make the hollow slightly bigger I use a Makita to carve out the hollowed part further.
-
- Making some openings at the lower part of the big stump (B).
More carving to do . . .

After adjusting both stumps, I get an overview of all the deadwood. The sharis I made on the left (c) need to blend in with the right-hand area which has those interesting hollows, giving the trunk an ancient feel.


-
- So I use the Makita again to carve the freshly made shari
-
- Hollowing it quite deeply . . .
-
- . . . And then even deeper.
-
- I noticed this part of the trunk was hollow too.

After carving work is finished I clean up the hollow with a copper brush.
Wiring the branches
Finally the carving work is done and I can now concentrate on the branches. The design of the tree will be a more horizontal outstretched style with some wide outspreading branches which really emphasize its shape. I will start by bringing the heavy back branches to the front to create the main branch.


-
- At the back the branch forks into two large sections
-
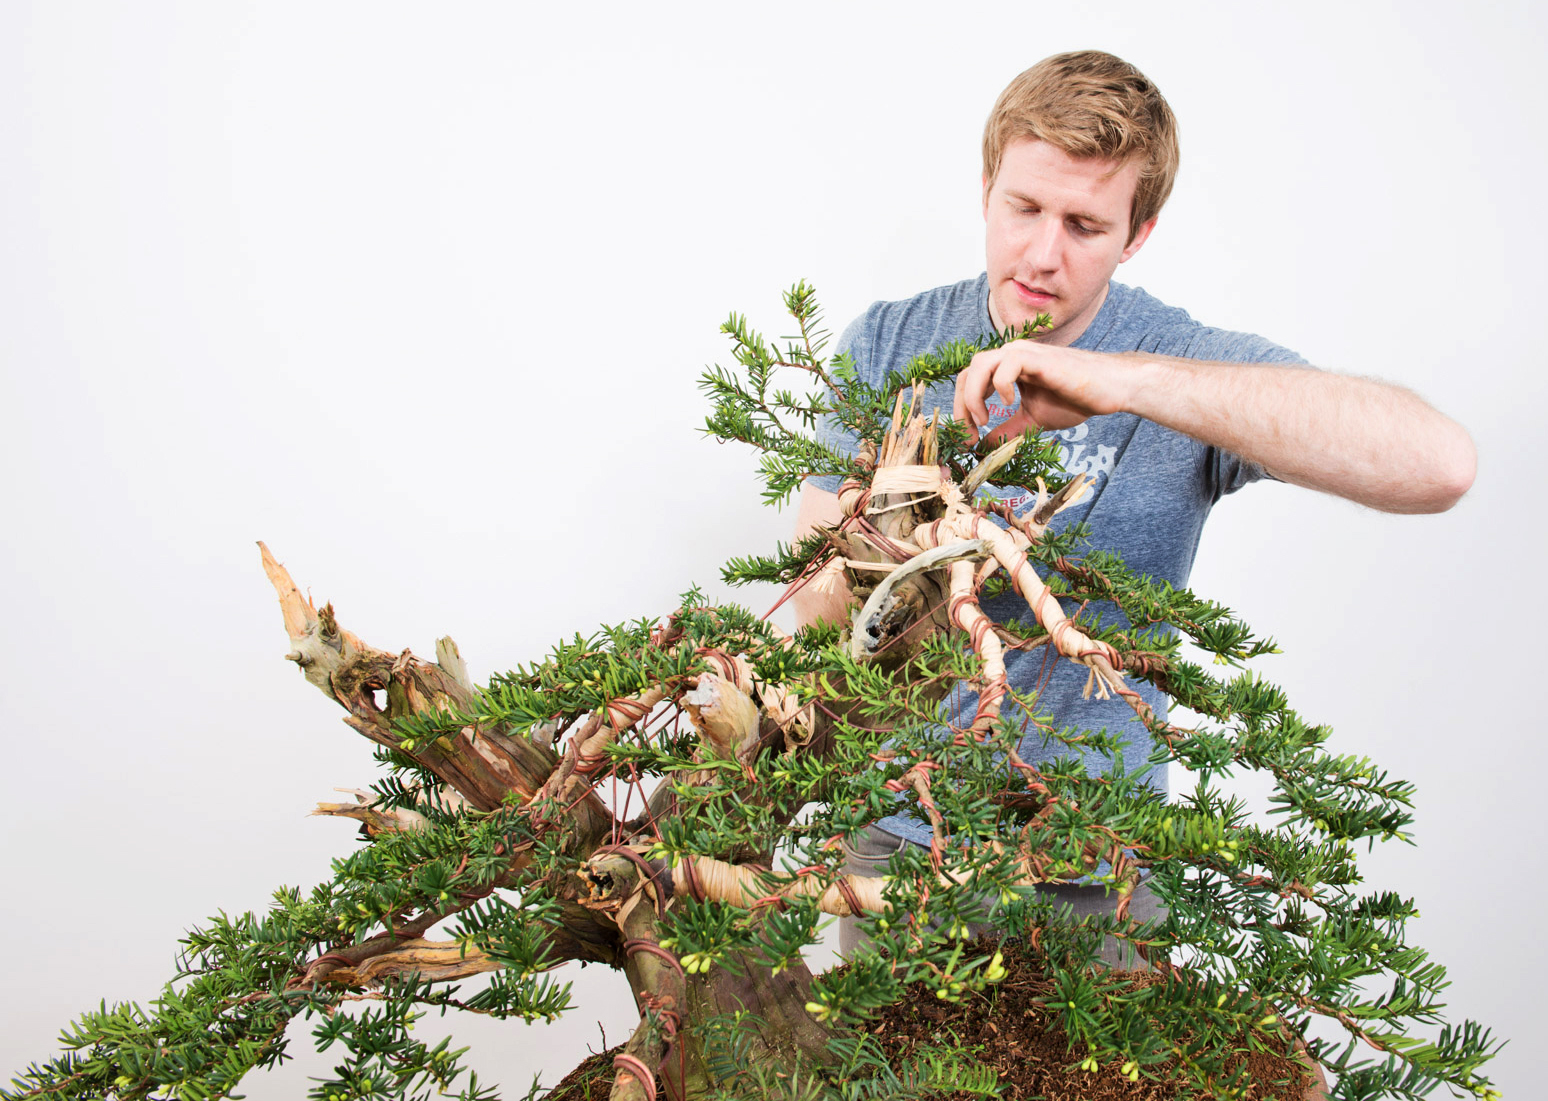
- Both parts are wrapped in raffia, then wired.

I use the base of the trunk as the anchoring point for the wire.

At the front I need to drill a screw into the base which will hold the guy wire.
Applying the guy wire, it’s attached to the screw and the branch.


It is necessary to make a fulcrum to prevent the base of the branch from breaking while it’s being bent.
The fulcrum sits between the trunk and the base of the branch.


I am bending the branch towards the front very carefully.
The main branch
Once the main branch has been set in the position I planned, I can work on wiring all smaller side branches which are quite a number. With Yannick’s help this job is done quickly.


The left part of the branch is used to fill in the back space to create depth.

The main branch is set, next are the branches (a) and (b)which will come over the side and front.

Wiring the right branch (a); I anchor the wire to a jin at the back.
It is then bent down to the back and fixed with a guy wire.


It is brought down very steeply.
The foliage of the branch is lowered, filling up a gap at the right.

Working my way up
We’re halfway through the job and while Yannick paints the deadwood with jin seal. I can check out the positions of the branches that have been bent downwards.


-
- Bjorn concentrates on the main branch, while Yannick applies jin seal.
-
- Seen from the right back: You can clearly see the fulcrum.
-
- Seen from the left back.

A: This branch is a tough one to bend.
B: This branch will be bent down in a twist to cover the empty space below.
The branches at the top
The lower section of the tree is ready, all branches seem to blend together. The next stage is to do the same with the top branches; these should come down and therefore need some raffia. Then, with help of guy wires, I will bring them in position.

Bjorn inspects the situation so far.


-
- Strapping the guy wire while pulling the branch down.
-
- Then the small side branches are adjusted. Slowly the top part starts to blend in with the rest.
-
- The result after adjustment.
-
- The top has an ugly stump, so I adjust it with the splitting tool.



-
- The top branch is bent towards the left with a curve. I hold and push the branch while Yannick straps the guy wire.
-
- Carefully it is being bend.
-
- The situation seen from the backside.
-
- Now that the branch is in position I can create the apex.
Taking a short break
Working on a tree like this — or any tree — is a creative process. After finishing the tree we took a short break. When we went back to the studio I was not really satisfied with the result so far. Initially I planned the design to go to the left using the large branch to emphasise this. Now I think it’s better to let the main movement go to the right and therefore shorten the main branch.

The main branch works well, but blocks some of the view to the lower part of the trunk.
As you can see, I did not remove all of the back branch.


After removing the main branch. (Pot is computer generated)
The movement flows to the right. It has more emphasis on the heavy trunk. The second part of the back branch gives depth.
The final result from all sides


