This is a technique that’s impossible to avoid. You are kidding yourself if you believe that you can create a bonsai by pruning alone. Here are the secrets of good wiring.
What is wiring and is it necessary?
Those who know nothing about bonsai say that wiring, because of the suffering it imposes, prevents the tree from growing. Absolute beginners, or those who refuse to study the techniques of bonsai, believe that it is unnatural and unnecessary. In fact, wiring is absolutely necessary, even obligatory. It has a double goal:
- To promote the general outline of the tree when its formation has started or when it is being restyled.
- To encourage growth in a way that makes the tree as ‘perfect’ as possible.
When you shape a tree each stage of the work has its own technique. Before you wire a tree you must be aware of what stage of formation it has reached. For example, it’s not necessary to wire large branches that are going to be cut and renewed. On the other hand, it is necessary to wire the trunk at the beginning in order to guide it and give it a form.

Essential rules
- The turns in the wire must make an angle of 45 degrees with the axis of the branch or the trunk.
- You will always apply the wire by fastening it by at least two turns round branch or trunk.
- You will wire from the base towards the top.
- When you wire a branch you place yourself in front of the tip of the branch you’re working on and apply the coils towards you.
- You will always try to wire two branches using the same wire. The unit will be much more stable.
- Use the least possible amount of wire.
- The wire must be well flattened against trunk or branch, without allowing space between it and the bark. Remove wires as soon as they start to become embedded. The wire is removed from the top towards the base, or it is cut off.
- Traces of an embedded wire are erased within a few years.
What kind of wire and where do I find it?
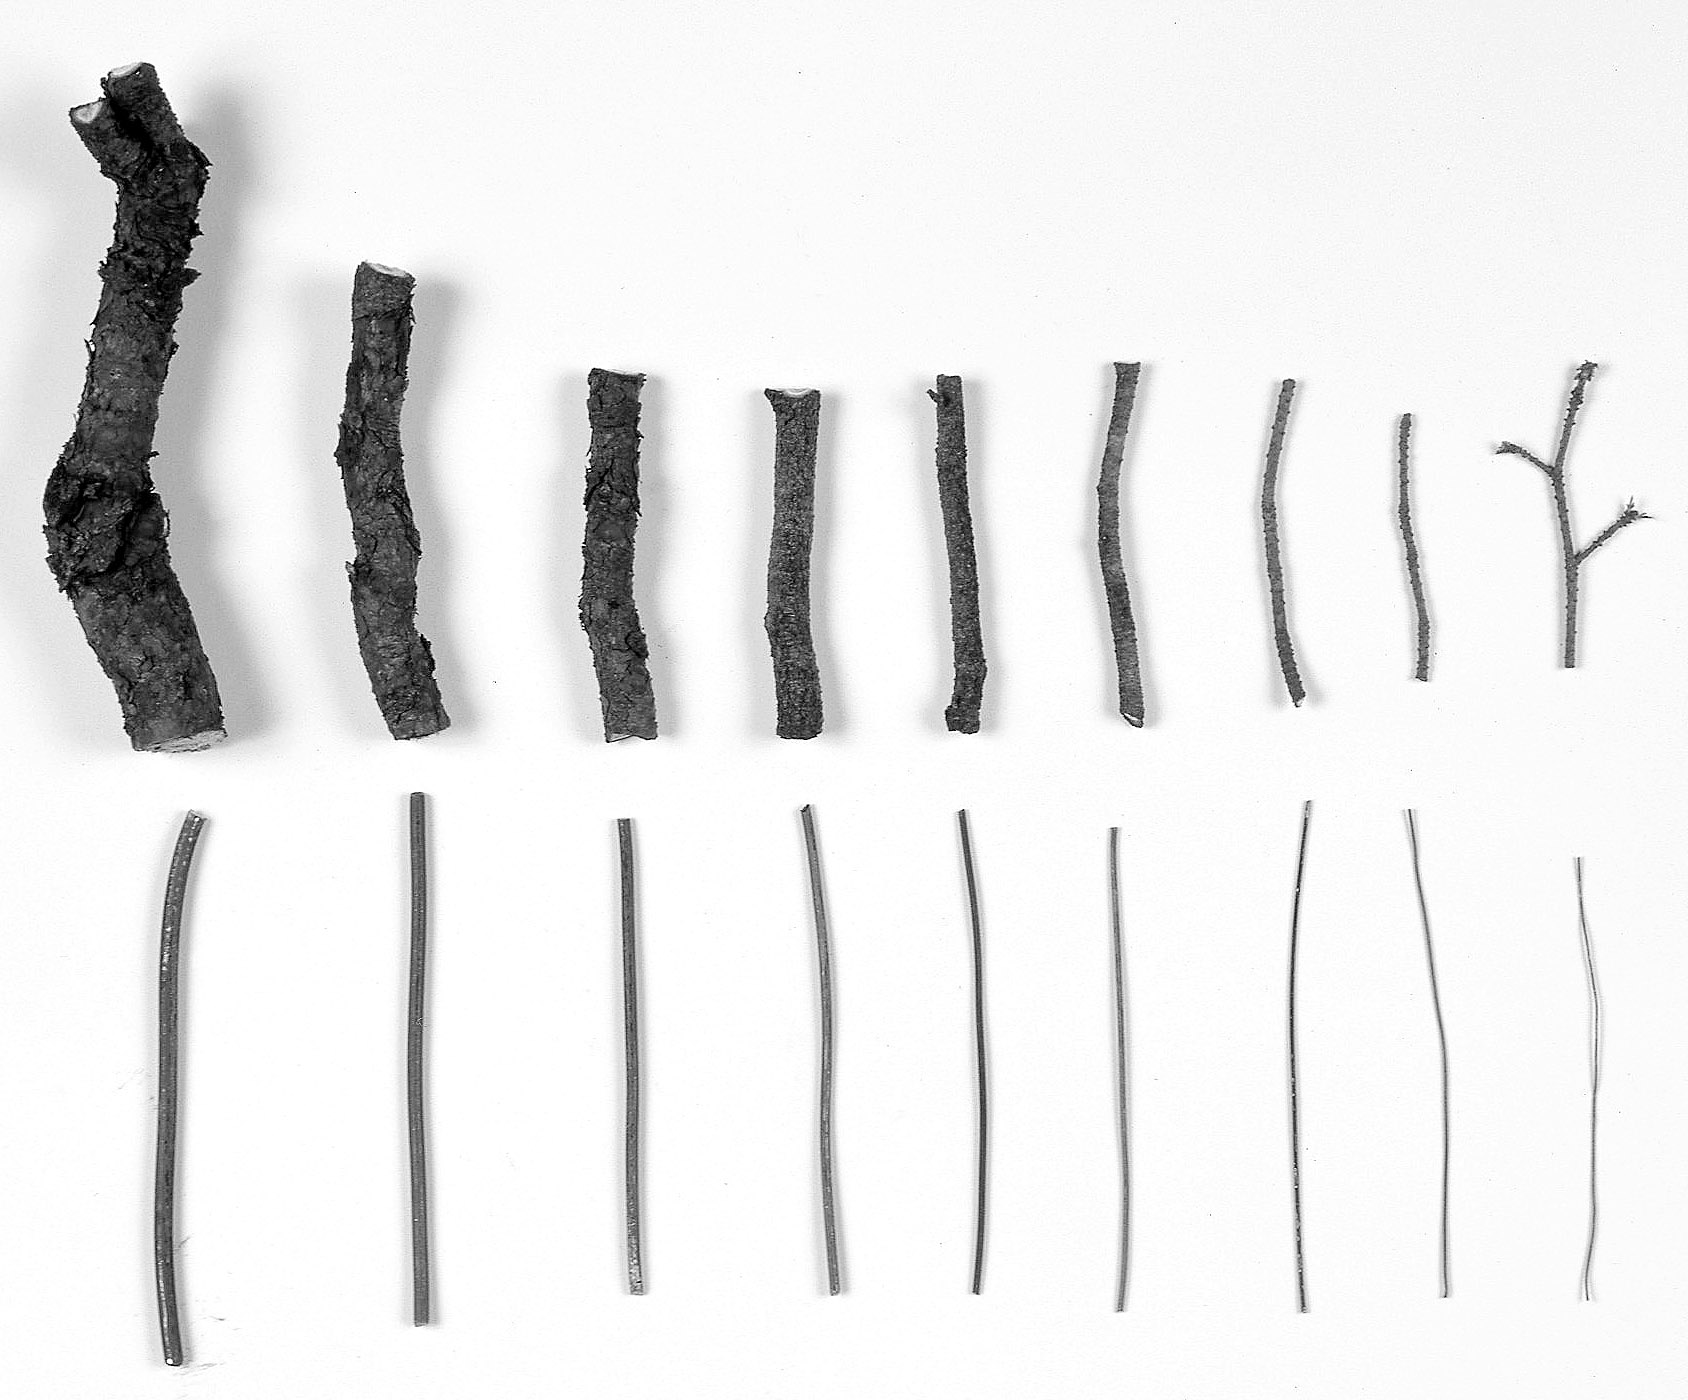
Two types of wire are at our disposal: aluminium and copper. Aluminium is the easiest to work with. It can be bought from all bonsai nurseries. It is malleable, it is applied and removed easily. It comes in diameters of 1mm to 8mm. Copper hardens quickly and it is very strong. It is difficult to remove and must be reheated for further use. Used specially on conifers, not for leafy trees. Find on a shelf of electrical materials, and at bonsai nurseries.
What gauge?
It is important to use a wire with a reasonable gauged wire. One that is too fine will be good for nothing. On the other hand, a wire that’s too large will be difficult to work with and may break the branch. Here’s a small trick: if you want to curve a branch, choose what you think is a suitable gauge of wire and straighten it so that it’s like a little stick. Fix it to the end of the branch. If it is the branch that bends and not the wire, you have good wire!
In the beginning
When you start to wire, always begin with the largest wiring, that is the trunk, and from the bottom to top. It is of primary importance to firmly fasten the wire at the base of the trunk or branches. Try to use only one wire on each element to be bound. If your wire is ineffective (too fine, for example), then you can double the thickness by using another wire with it.
Wire — which thickness to use for which branch?
One of the biggest worries about wiring is choosing the right size for the job. Professionals will take one look at a branch and think by how much it needs to be moved before choosing the correct size, Without experience, enthusiasts always tend to choose wire that is too fine. It is ineffective and so two wires are needed to do the same job, often resulting in crossing wires and ugly branches. Initially, always go one size up from the one you are thinking of using and you’ll find your wiring will be less wasteful and more attractive.
Wiring the trunk
You can wire and curve a trunk. If the trunk is very large, or if its bark is outstanding you have to protect it by winding wet raffia round it. You will need to tighten this well round the trunk. Use generous lengths of raffia so that you can tie it at the end. This will stop the bark from splitting or breaking. Wire will always have to be anchored firmly in the soil mix.
Moreover, its starting point will be at the back of the tree for both aesthetical reasons and practical, because you will draw the wire towards yourself when it is coiled round and it is more effective for flattening it against the trunk. Sometimes only one wire, even if it seems to be the correct gauge, is insufficient. You will then need to double it.
If the trunk is very conical, the diameter of the coils will decrease as you move up the tree. In this case, stop using the large gauge wire and continue with a wire that is finer. You will attach it to the larger gauge wire at least two coils lower, so that it is well fastened.
It is possible to wire two branches with the same length of wire, but don’t do so if the branches are directly opposite one another because the result will be unstable. Instead, connect alternate branches and wind at least two coils round the trunk, so that when you bend one branch, the other will remain in position. As for the trunk, you can either double the wires, or you can follow the first with an extra finer wire instead than the one used at the start..
How to bend a branch?
It is essential to press with the fingers on the coil of wire in order to bend the branch. If you don’t do this, there is a distinct possibility that it will break.

Tip
If you want to lower a branch by wiring pass the wire from the trunk over the top of the branch. If you want to raise it pass the wire under the branch.
When to wire
Winter is a bad period for wiring because wood is dry and easily snapped, but it is possible. Preferably, you’ll wire at the start of spring or the end of summer. At the time of growth, which will follow, the branch will take the direction desired when wiring.

Tip
You can wire an entire tree firmly when it is strong and vigorous. Weaker trees may lose small branches. Pines specially are sensitive to this stress when they are weak.
Precautions
When you place the wire take care not to tear off the bark. The same thing applies when you curve a branch. This is of primary importance for junipers. Do not cut the base of the branch with the wire; it would most likely die.
Wiring small branches
A good technique consists of working with few wires and trying to
wire the small branches two by two. In this way you won’t overload the small branches. The more we progress with the ramification, the denser a tree will become and the number of small branches will multiply. It’s therefore essential that the wiring be kept to the minimum.
Avoid...
. . . making irregular corkscrew like coils, because the wire will
become ineffective.
. . . crossing wire in a lattice pattern. It will only choke the branch because the wire will be strongly embedded during growth.
. . . unusual wire like that made from iron. It is inflexible, hard to apply and to remove, and what’s more, it rusts. Be clean in your
work and take your time. Try to make the wiring look aesthetic.
Effective wiring is pretty to see